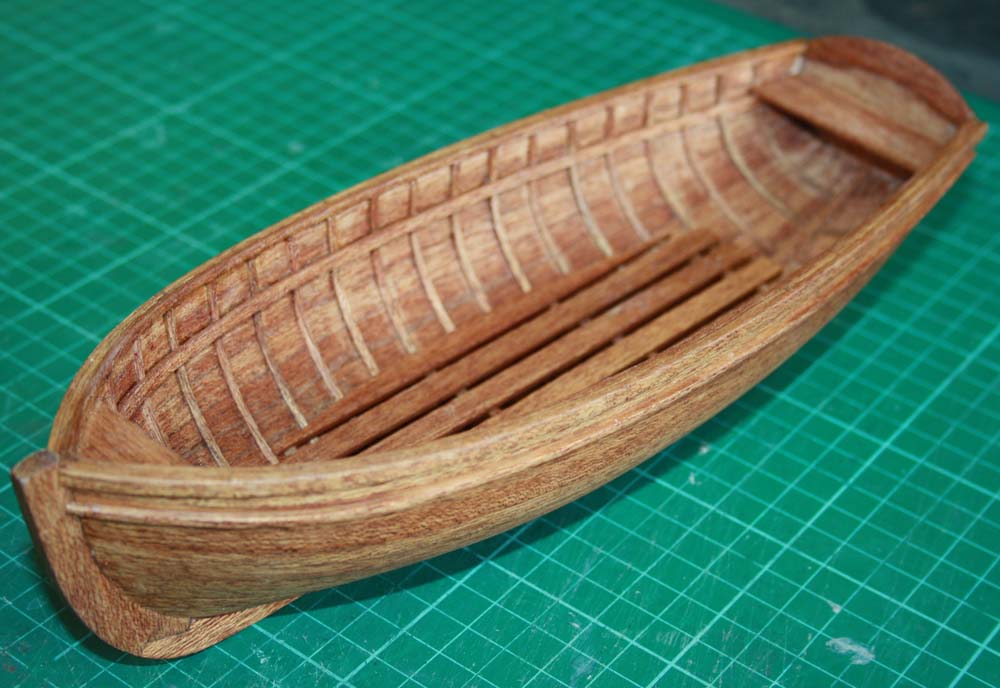
Carvel construction is the one that most would be familiar with, particularly if you have constructed a model ship from a kit. Planks laid edge to edge giving a smooth outer hull is how most model kits recommend that you plank a hull. Many modern kits have a second layer of planking that can be fitted over the initial layer of planking to improve the appearance or finish of the model.
Carvel Build
I am going to build the hull for the carvel constructed model from Meranti at 1:18 scale. I would like to attempt to get a reasonable finish using only one layer of planking as this is how most small open boats would be constructed.
Again we need to consider that he hull will be without frames when it is removed from the building jig/mould so the hull will have to be thick enough to support itself.
[GDC_row]
[GDC_column size=”half”]
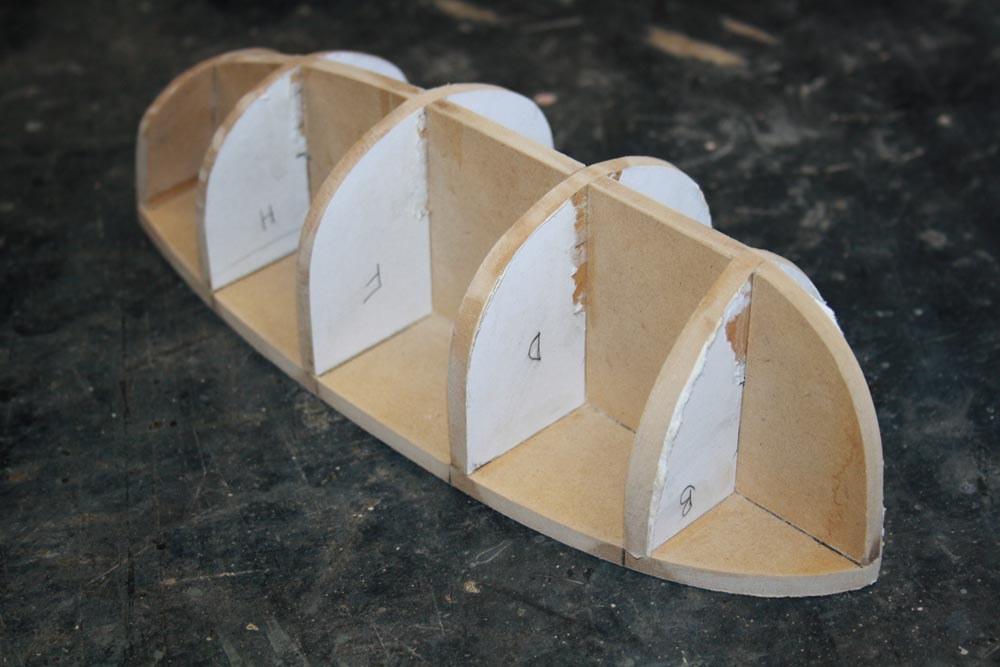
I have constructed the frames, keel and base for this model from 6mm MDF (craftwood). I have also left out every second frame as there will be enough strength in the remaining frames for the model to be able to hold its shape as things are glued together. The frames were made very much the same way as was shown with the initial part of the clinker build.
[/GDC_column]
[GDC_column size=”half”]
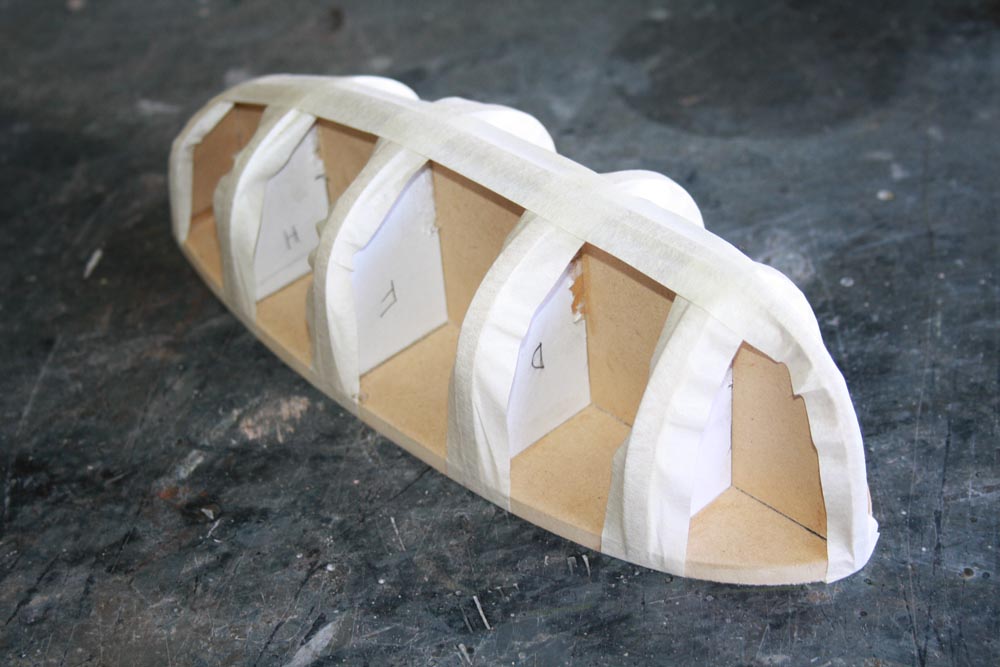
At this stage it is important to think about how we are going to remove the finished hull from the frames. In this case I am going to use masking tape on the edge of the frames so that the wooden planks don’t stick to the wooden frames during construction. I have used 25mm masking tape for this model but if I was to construct this again I would cut the masking tape just wide enough to cover the edges of the frames.
[/GDC_column]
[/GDC_row]
[GDC_row]
[GDC_column size=”half”]
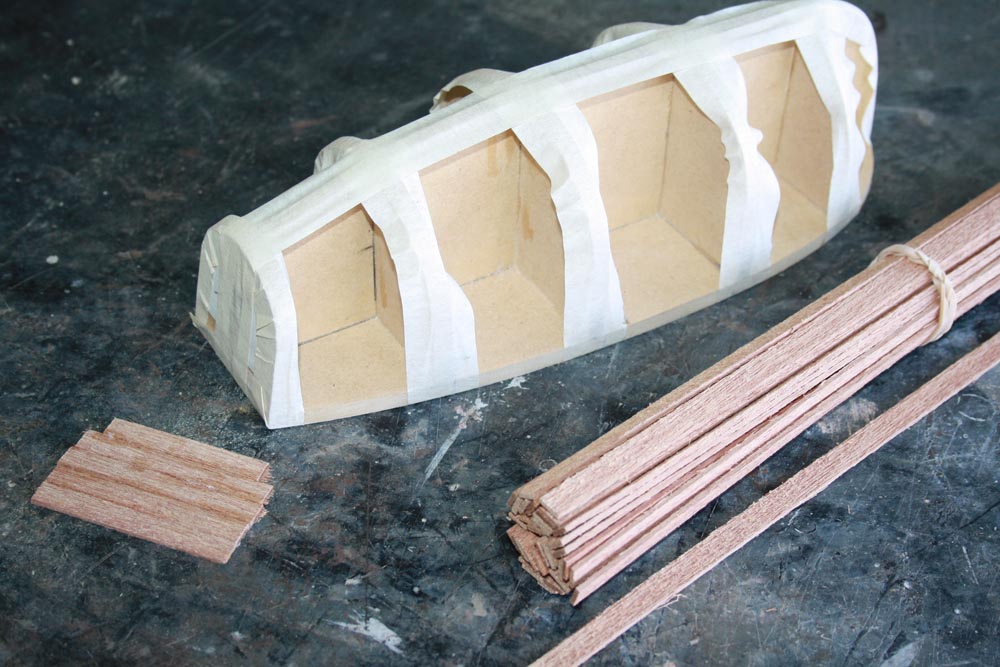
I cut and sanded the wooden planks for this model to 1.8mm thick x 8mm wide x 300mm long. I made a few more planks than I thought that I would need.
[/GDC_column]
[GDC_column size=”half”]
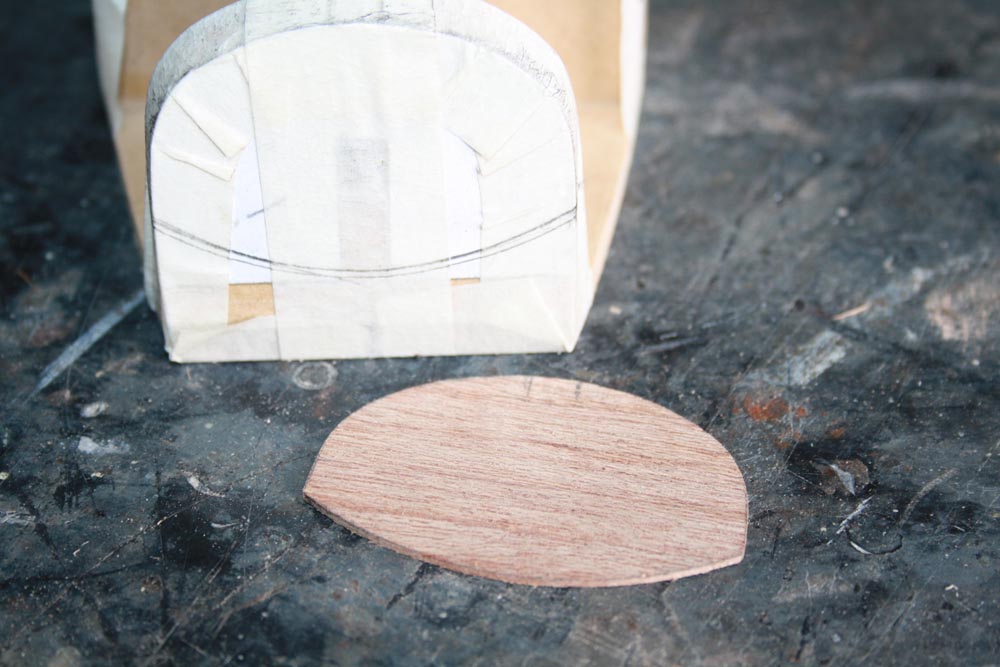
A transom piece was made by cutting one plank into small lengths and edge gluing them to each other. I placed the pieces between two sheets of paper held flat with a weighted flat board while the glue dried. The transom was then cut and sanded to shape.
[/GDC_column]
[/GDC_row]
[GDC_row]
[GDC_column size=”half”]
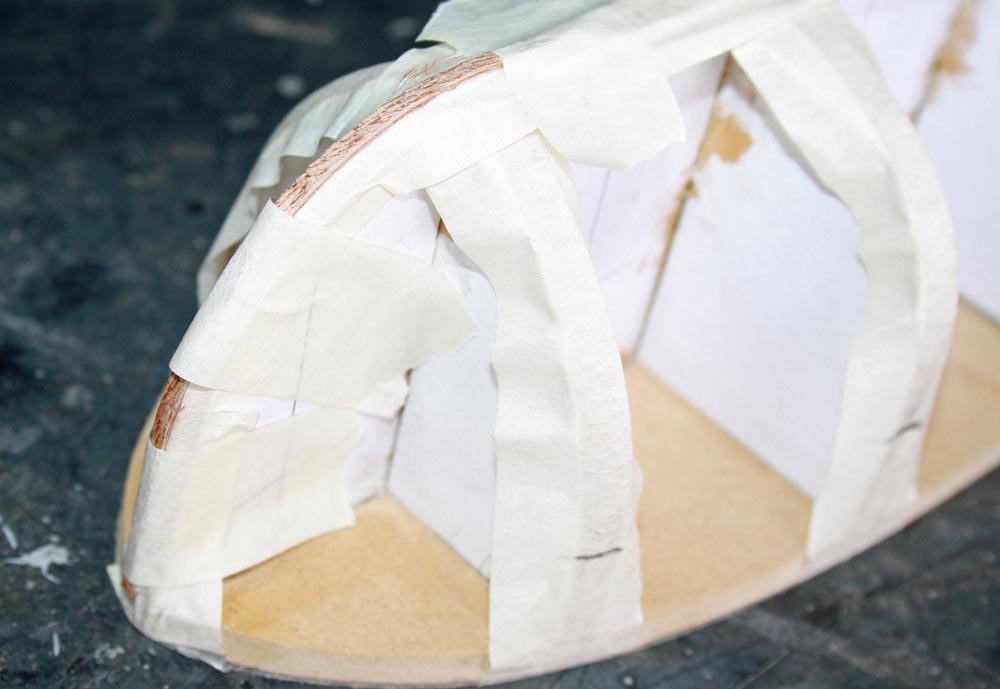
A tradition way to construct an open boat would be to fit a keel and stem piece prior to planking. I am going to construct this model a little differently by planking first before fitting the keel. This means that we need to fit a small piece of wood along the curve of the bow so that the ends of the planks have something to stick to.
[/GDC_column]
[GDC_column size=”half”]
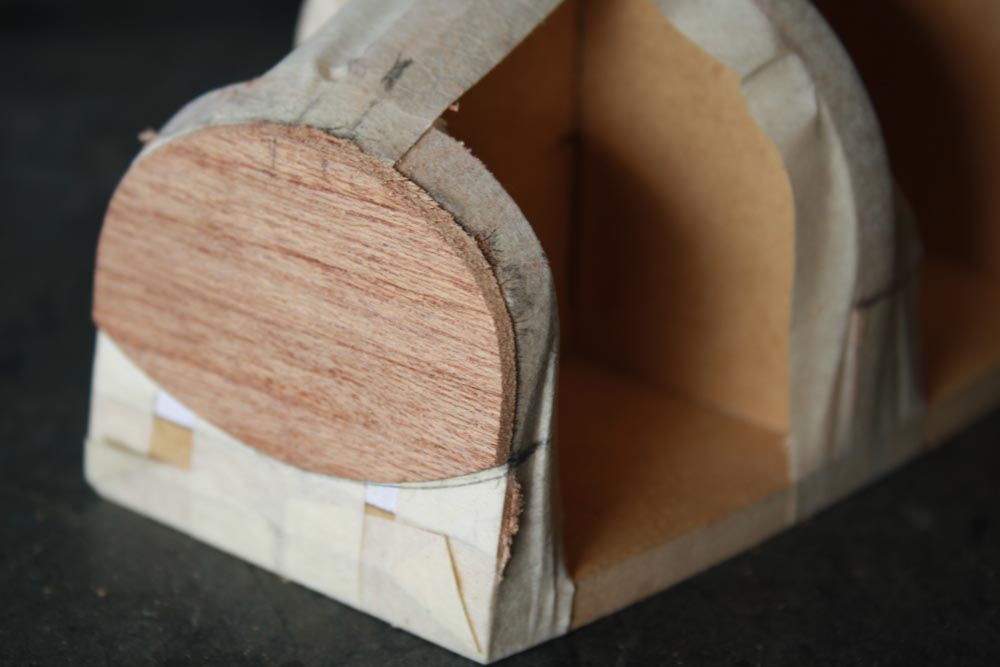
At the stern the planks will be glued onto the transom that we made previously. The transom is glued onto the transom frame with only a couple of drops of glue, just enough to hold it in place until we can get a few planks on.
[/GDC_column]
[/GDC_row]
[GDC_row]
[GDC_column size=”half”]
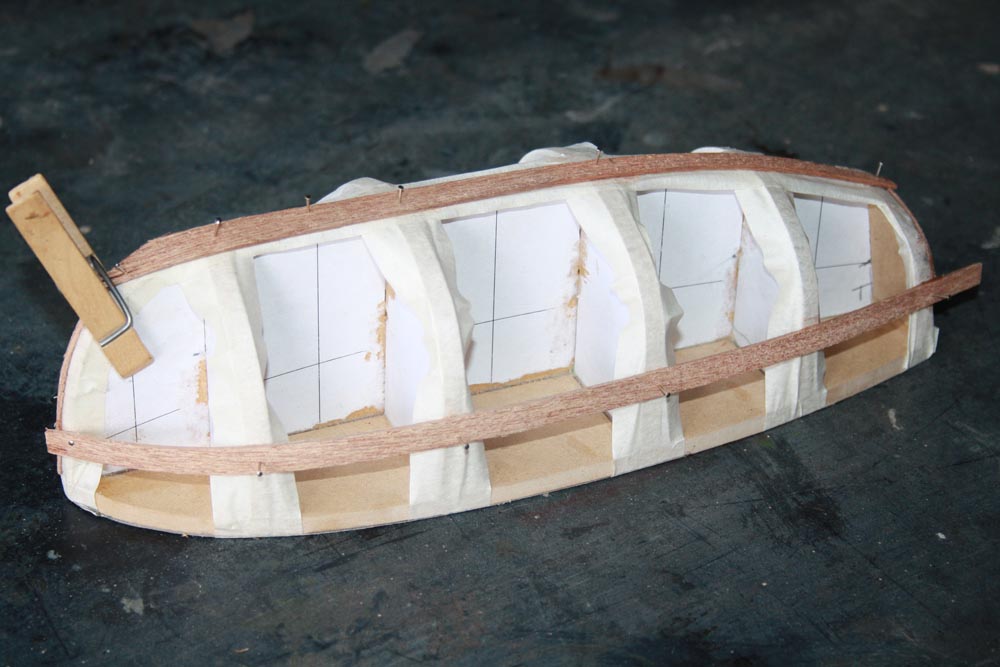 The garboard plank was fitted along the edge of the keel and the top edge plank was fitted. Both of these planks were tapered towards each end just a little. I used pins to hold the planks in place whit the glue dried. The next step was to divide the distance between the two planks into an appropriate number of spaces at each frame. Mark the divisions with a pencil on each frame. This will depend on the width of the planks that you have cut. In my case I will be able to fit eight planks between the two already in place giving a total of ten planks each side.
[/GDC_column]
[GDC_column size=”half”]
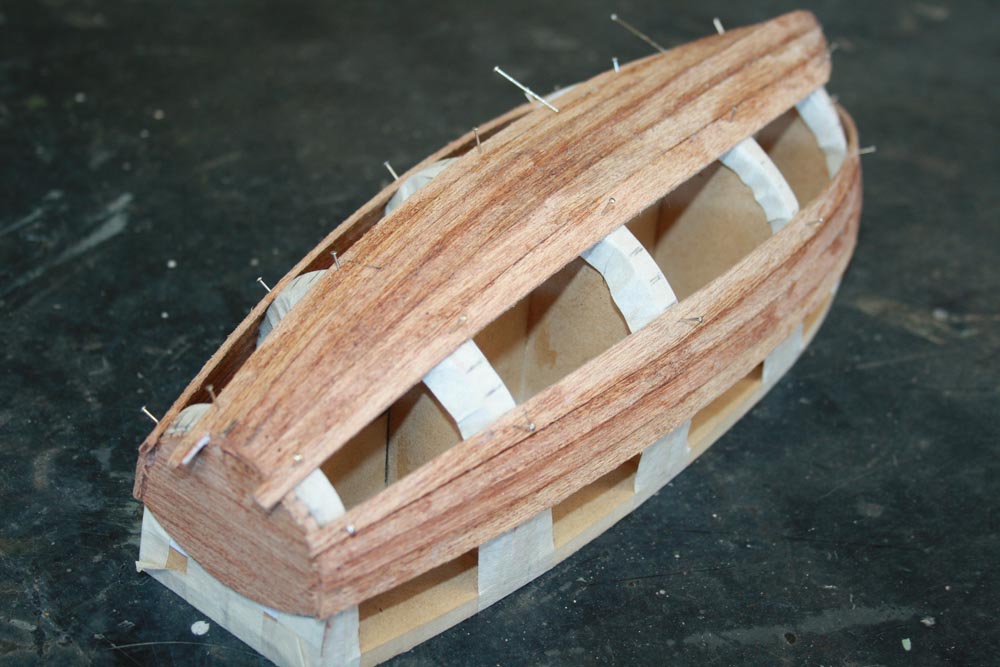 Continue adding planks. This is a very simplistic way of planking this hull and will require some bending of each plank to make it fit. I had to use several pins in some areas to hold things in place while the glue dried.
[/GDC_column]
[/GDC_row]
[GDC_row]
[GDC_column size=”half”]
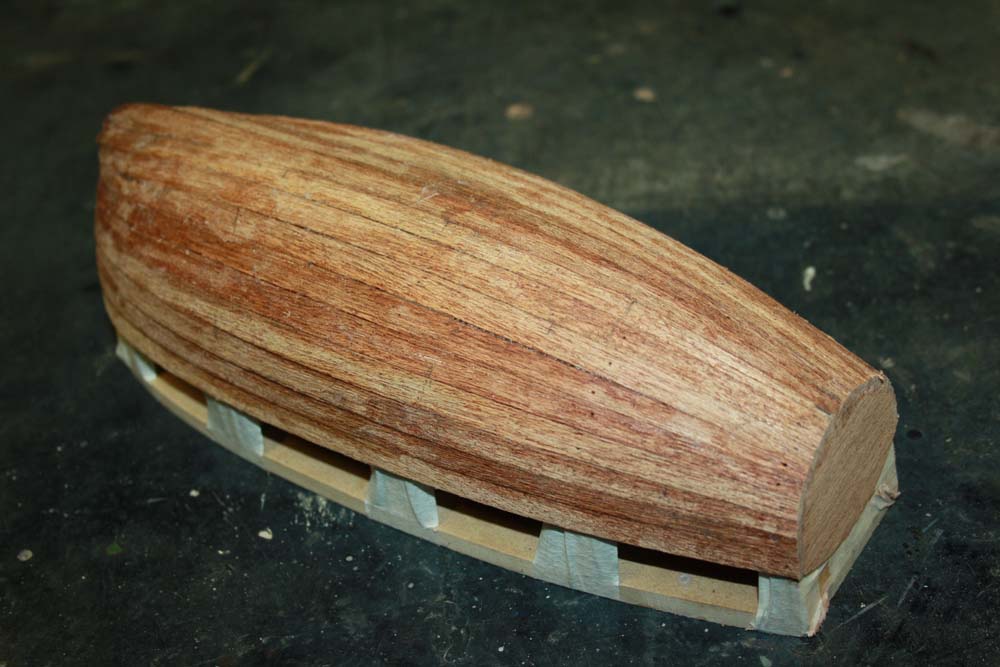 Continue planking until you have completed both sides of the hull. If you have worked things out well your last plank should be wide enough to fill the last gap. If not you may have to insert a small filler plank to finish things off.
[/GDC_column]
[GDC_column size=”half”]
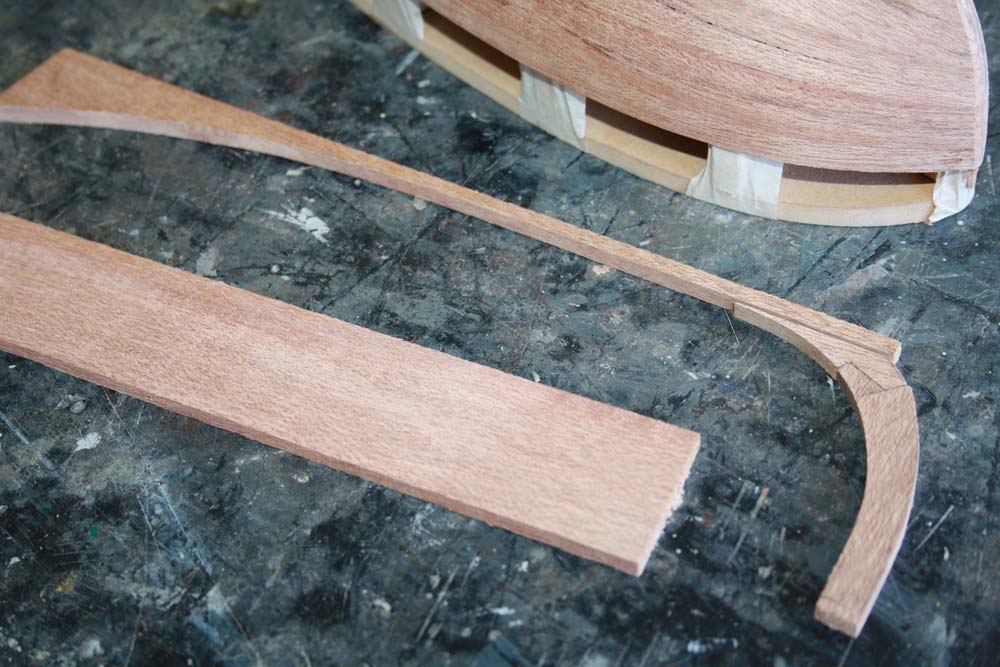 When the planking is complete give the hull a good sanding down to smooth off the edges of the planking. At the bow, sand a flat area for the stem post and keel to sit on. Cut a keel and stem to fit. It may need to be built up in several pieces.
[/GDC_column]
[/GDC_row]
[GDC_row]
[GDC_column size=”half”]
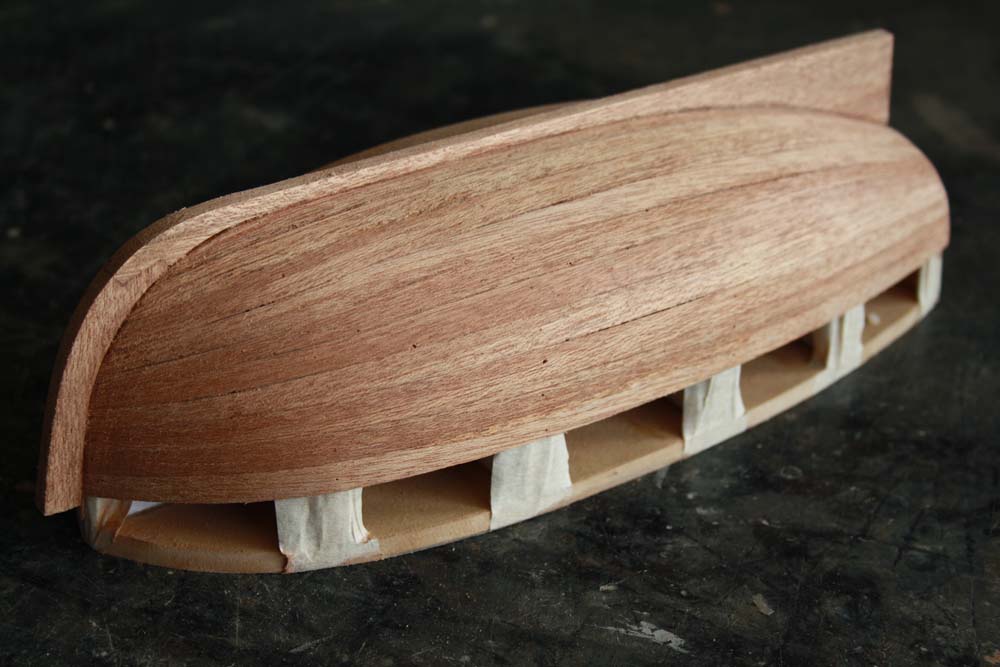 Glue the stem post and keel onto the hull.
[/GDC_column]
[GDC_column size=”half”]
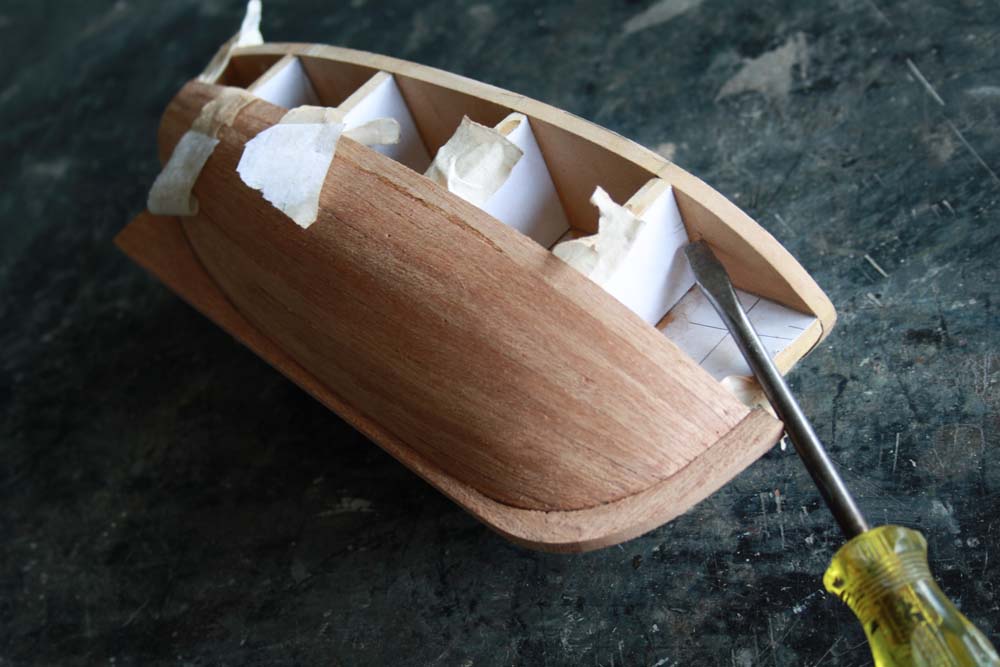 It is now time to remove the hull from the frames. This is likely to require a bit of force. I used a screwdriver to lever the hull off of the frames ensuring that pressure was placed on the thick stem post and not on the planking.
[/GDC_column]
[/GDC_row]
[GDC_row]
[GDC_column size=”half”]
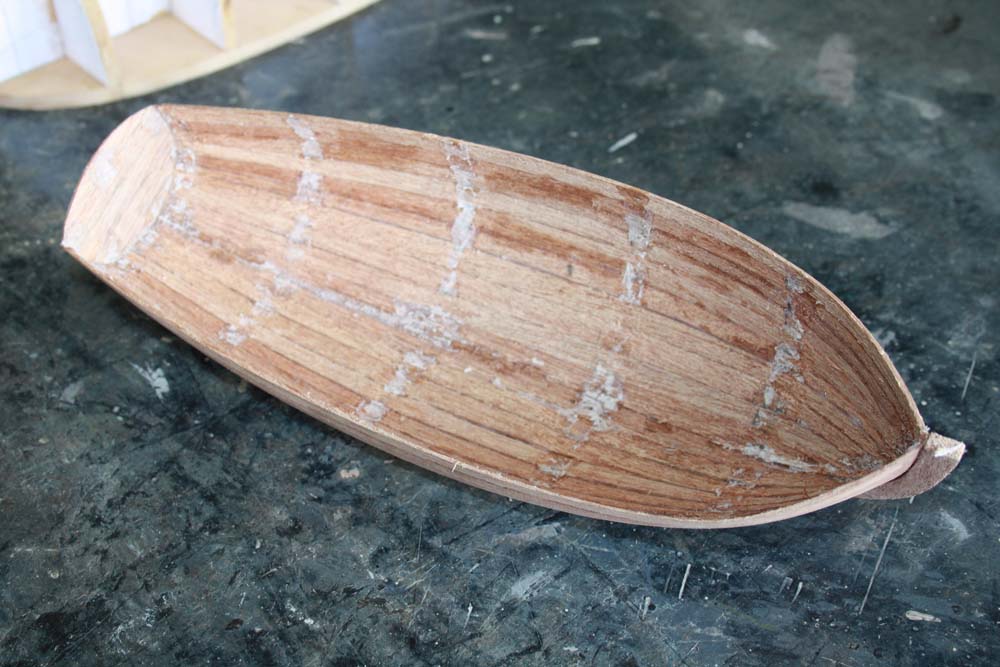
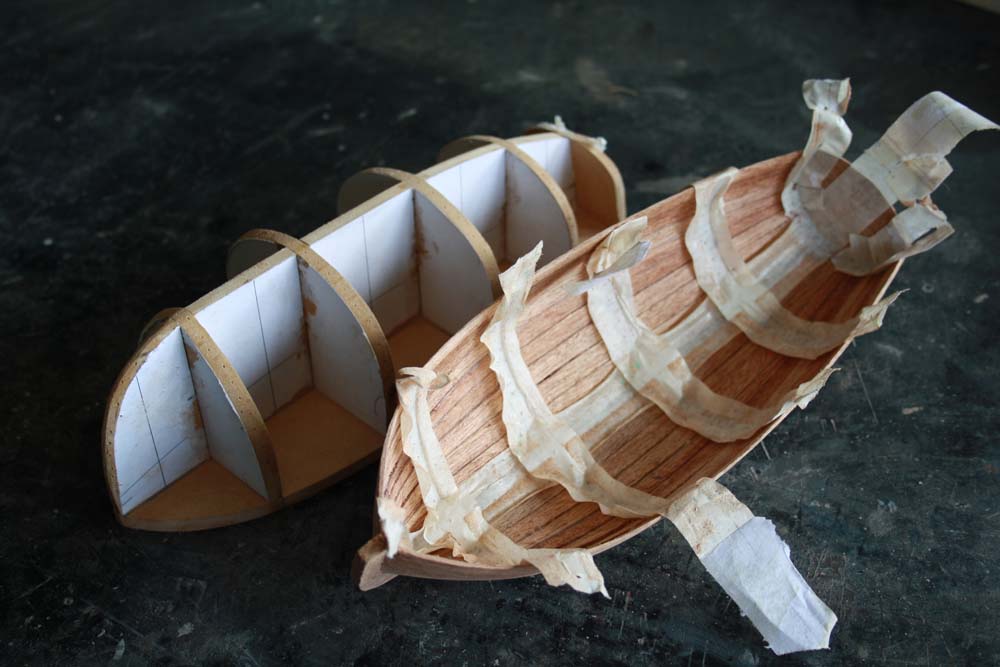 The hull removed. I found it interesting that the tape came away from the frames rather than the hull planking.
[/GDC_column]
[GDC_column size=”half”]
I scraped the tape off the inside of the planking with a sharp wood chisel. A modelling knife with a rounded blade would do just as well.
[/GDC_column]
[/GDC_row]
[GDC_row]
[GDC_column size=”half”]
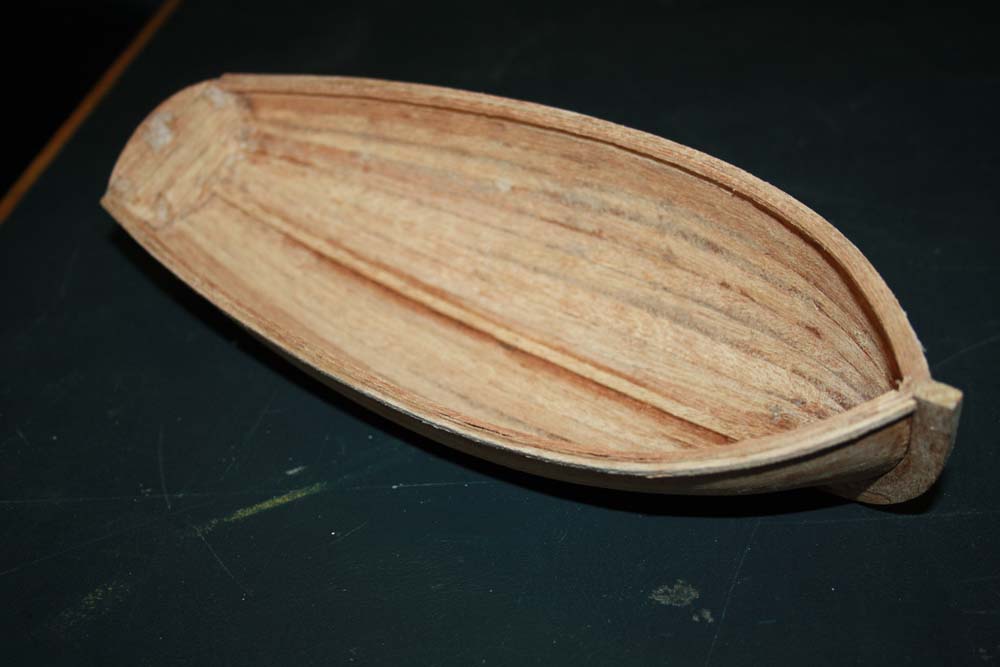
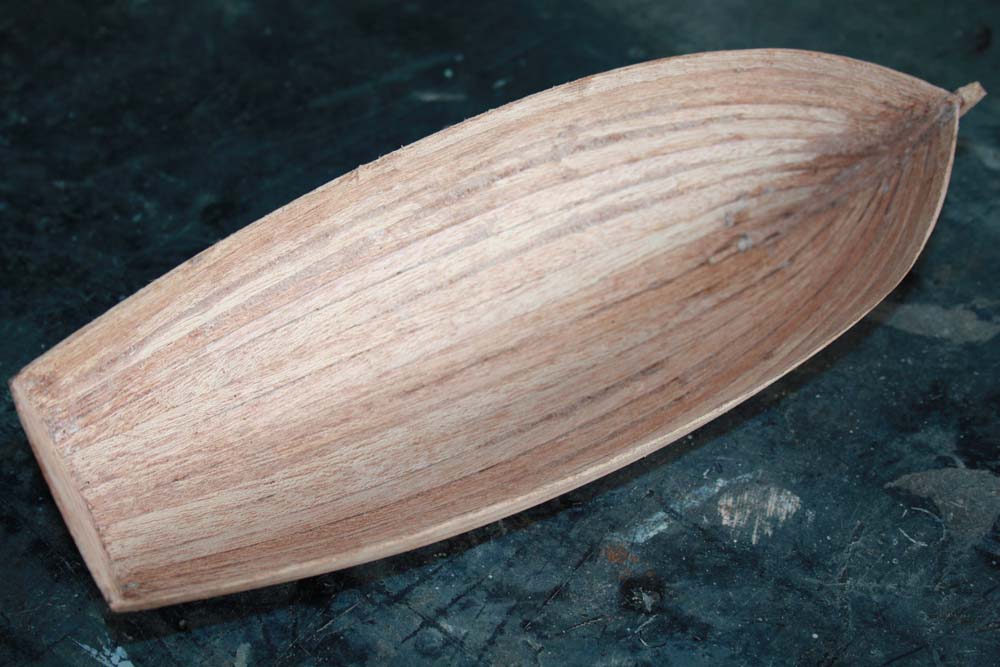 The inside of the hull was then cleaned up with sandpaper.
[/GDC_column]
[GDC_column size=”half”]
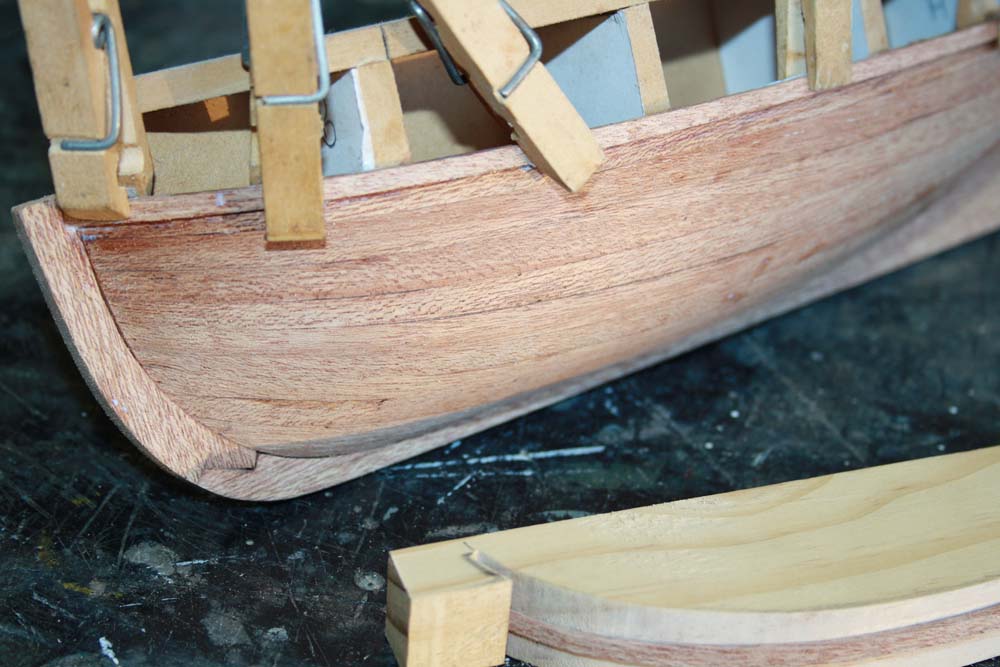 I cut thin planks for the gunnel. These were soaked, then bent on the jig. When dry they were glued to the outside edge of the hull.
[/GDC_column]
[/GDC_row]
[GDC_row]
[GDC_column size=”half”]
Other thin planks were glued in place along the inside top edges of the hull and along the inside center line as a false keel.
[/GDC_column]
[GDC_column size=”half”]
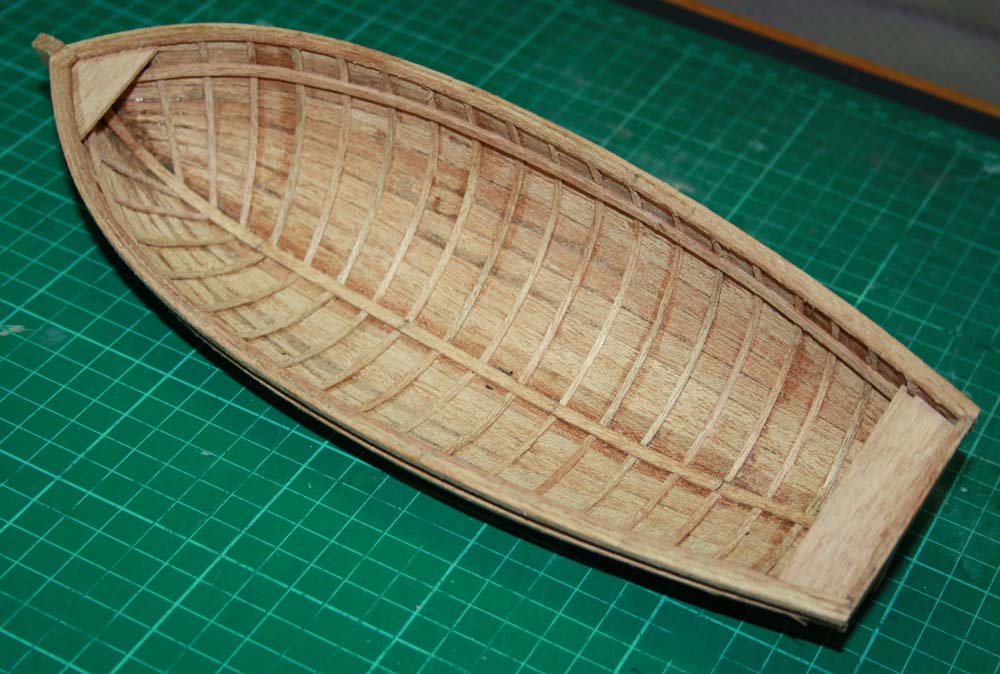 The inside of the hull was fitted out with ribs and seats.
[/GDC_column]
[/GDC_row]
[GDC_row]
[GDC_column size=”half”]
Added some floor boards and gave the hull a couple of coats of varnish inside and out.
[/GDC_column]
[GDC_column size=”half”]
Added a couple of seats and it looks a bit like an open boat.
[/GDC_column]
[/GDC_row]
This content is restricted to CMSS financial members. If you are an existing user, please log in. If you are a CMSS financial member and wish to register you may do so below.

